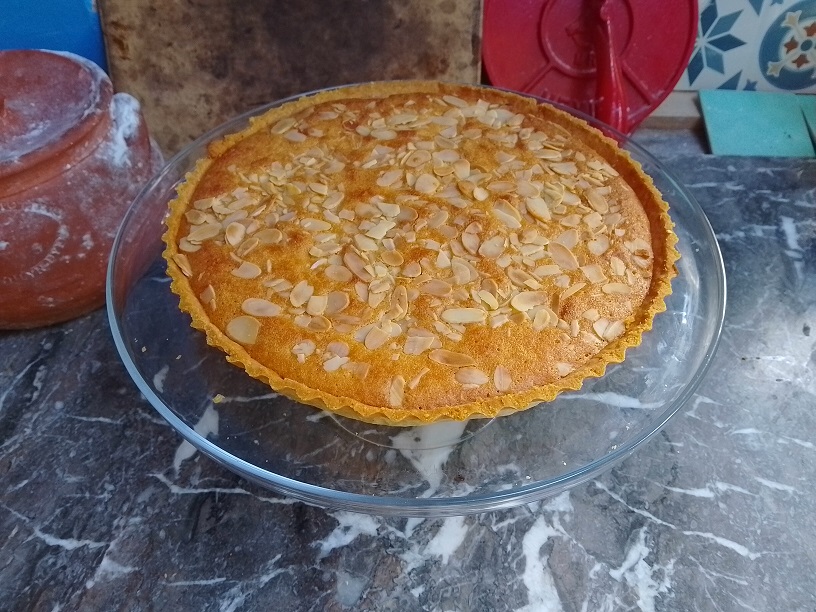
Pastry has a bit of a mystique around it, at least in my experience talking to others about it—while I think this is understandable for something like puff-pastry or Danish pastry, where the process involved is in fact very tricky to master, it feels rather unwarranted for shortcrust pastry, where the process, while taking a fair bit of time, is quite straightforward. Here’s a basic recipe for making shortcrust pastry—sweet or savoury (just leave out the sugar), and enough to make a typical 10-inch tart (double it for a pie with a lid). I’ll be making a bakewell tart, one of my favourites, though the recipe is just for the pastry—you can make any tart you like with this, whether that’s bakewell or apple, quiche or pumpkin pie.
Ingredients
- 250g white plain flour
- 125g chilled butter, cut into small cubes
- 75g white caster sugar
- 50g cold water
- pinch of salt
- 1 egg
The Flour
You want a flour low in gluten, as gluten development leads to a chewier texture, which is undesirable for shortcrust pastry, which should be snappy and crisp—you can check the percentage of gluten in any given flour by looking at the protein content listed in the nutritional information on the back of the packet. Here in the UK, I use white plain flour, and the flour I used this time specifically had a gluten content of 9.4g per 100g of flour, so 9.4%, and I’d say most plain flours hover around that percentage. Other countries have their own flour types—I know in the United States all-purpose flour is frequently used for both pastry and bread, though this strikes me as odd, and looking at the protein content of King Arthur’s all-purpose flour (11.7%) makes it seem more like a low-gluten bread flour to me—perhaps tastes are different over the pond.
I use white wheat flour, as opposed to any kind of wholemeal or ancient grain. I’ve seen recipes for pastry using wholemeal flours, as well as things like white spelt, and I’m sure they could work, but I personally don’t feel it would contribute anything to most of the dishes I bake with pastry—to me, the pastry is a crisp, rich, but relatively neutral base which supports the more strongly flavoured filling, but that’s just my tastes.
The Butter
I use salted butter, and as such I typically leave out the pinch of salt, but from what I understand salted butter is rare outside of Britain (and parts of northern France?) and so if you’re not in the UK, just use whatever normal butter you’d use for baking. A lot of the mystique around pastry revolves around how to handle the butter—you want the butter cold, having just been taken right out of the fridge, and cut into small cubes to make it easier to work, in order to produce the right texture—you don’t want it to easily smear against your fingers.
Sometimes a certain percentage of the butter is replaced with lard, to a wide range of different ratios. Butter has a higher water content than more pure fats like lard, and so this adds moisture to the pastry that is generally considered undesirable—however, I find the difference in texture negligible, but the difference in taste rather stark—all-butter tastes better to me. If you’re making vegan shortcrust pastry, use a vegan ‘block’ butter as opposed to the spreadable butters for toast, etc, and be careful when adding the water, as vegan butters tend to have a higher water content than dairy butters.
You can also replace butter with cheese, as with cheese scones. You want a hard, grateable or crumbly cheese, like cheddar or stilton, and for every gram of butter you replace, you add two grams of grated cheese as a substitute, e.g. if you wanted to replace 25g of butter with cheese, you’d add 50g of cheese. This is because hard cheeses tend to have half the fat content of butter and more pure fats. I wouldn’t recommend replacing all the butter with cheese—you’d be adding in an equal amount of cheese to flour, which sounds too cheesy to me.
The Sugar
White caster sugar is reliable and does the trick, though golden caster sugar can be nice too, and icing sugar will give you the same result (but is more annoying to handle, in my opinion). I haven’t experimented with other sugars, but brown sugars are moister than white sugars, and so I imagine would demand a slight reduction in water. I don’t tend to see caster sugar in American recipes, so I’m going to assume that not all countries have it. I imagine granulated sugar would work in a pinch, though the texture might be a bit grainy—if you can’t get caster sugar, I’d use icing sugar, as you want something fine in order for it to mix well.
For savoury tarts or pies, leave the sugar out. You can bake sweet tarts with unsweetened pastry—the tart I’m baking in this recipe (Bakewell Tart) would probably be okay with unsweetened pastry, due to it having a very rich filling, but I do think most desserts benefit from having that slightly biscuity quality to the base. Sweet pastry will brown quicker than savoury pastry, so keep a closer eye on it while it bakes.
The Water
I just use water for my pastry—some people use egg yolks, or full eggs. While I like the richness egg imparts, I prefer the texture of pastry made only with water. The 50g/50ml of water is really just a guide—I just add a bit at a time and only use as much as I need to. While that might seem daunting at first, it’s generally better practice, as you may need more or less water depending on the temperature and humidity of your kitchen.
The Salt
It’s salt, I’m sure you know what it does! I often leave it out because I use salted butter.
Equipment
- 10-inch tart tin
- Large baking tray
- Brush
Tart Tin
I use a loose-bottomed 10-inch tart tin—this size feels about standard for a tart, giving you approximately 10-12 servings for a dessert tart, and 6-8 for something like a quiche (assuming you’re having the quiche for dinner, for a picnic it would probably serve something like 10-12). The loose bottom is very helpful when removing the finished pastry case from the tart tin—if you’re shopping for a new tart tin, definitely get a loose-bottomed one.
Baking Tray
A baking tray which is large enough to accommodate the tart tin being placed on top of it, and then some. I use an old, square, rimless one, which does the trick well enough.
Brush
A baker’s brush for applying egg-wash. I use a red one made of silicon, but you can get more traditional brushes too.
Method
1. Rub the butter into the flour.
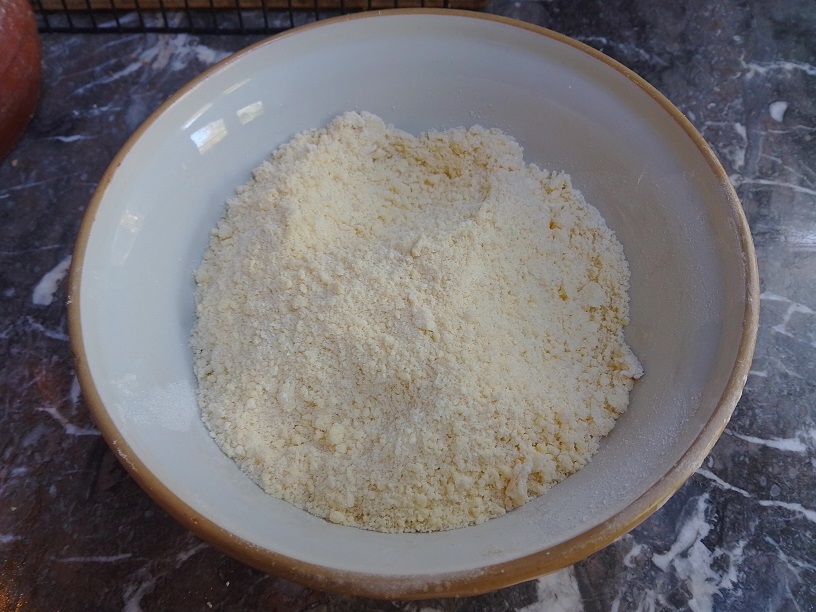
I use a food processor for this step, but before I had a food processor I used to do it the old fashioned way, with my fingers. Basically, jumble up your cold cubes of butter with the flour, then press them between your thumb and finger, rubbing them together so they crumble back into the pile of flour and butter. When I was first learning to bake pastry, I was told to do this until it resembles “breadcrumbs” or “wet sand”, while I’ve seen some people say they should be “pea-sized”, which sounds a little big to me. Regardless, you want the butter in fine, evenly-sized chunks, mixed in with the flour.
Doing this in the food processor is very simple. Put your food processor on its fastest setting, then tip the entire mixture inside, then pulse for a few seconds until you have a fine mixture. Some people use a grater—the butter is frozen, then finely grated into the flour, before being mixed up, but I haven’t tried this myself. Add the sugar and salt after you’ve rubbed in the butter—omit the sugar if you’re making savoury pastry, obviously. I omit the salt, as I used salted butter, but some people prefer to use unsalted butter when baking, and salted butter is rare outside of the UK.
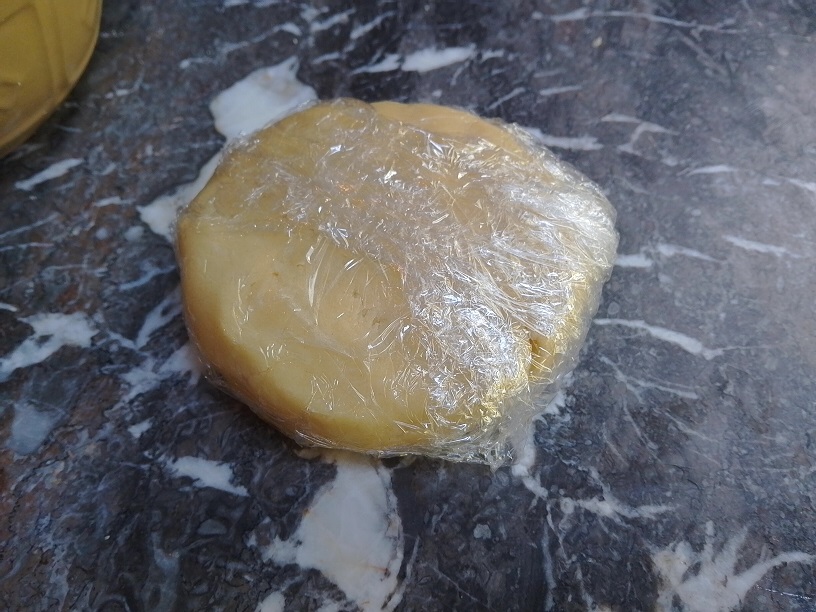
2. Slowly mix in a small amount of water and bring it together into a fairly dry, somewhat stiff dough. Shape it into a rough disc, wrap it in clingfilm, then put it in the fridge for about an hour.
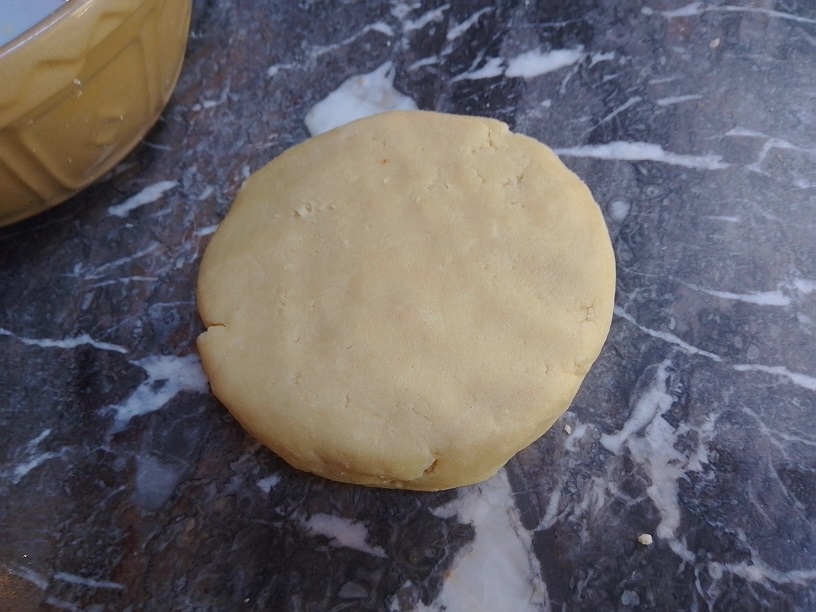
I don’t really measure the water, the 50ml/50g is just a guide. I pour in a small amount at first, while the mixture is still in the food processor, pulsing it a bit before turning the mixture into a bowl, as seen in the image above. If you’re doing everything by hand, mix the water in with a spoon at first, then when the dough begins to come together, start using your hand. I compact the mixture in my hands until it forms a stiff dough, adding more water if it is too dry, before kneading it very briefly to bring it together.
Take care not to add too much water—the mixture should seem too dry at first, as flour takes a bit of time to absorb water. A lot of people will be keen to emphasise that you shouldn’t overknead the dough—this is for a good reason, as gluten development (which is formed through kneading) is undesirable for pastry, as it gives it a chewy texture, but a light amount of kneading is useful to bring the dough together into a workable medium. Shape it into a rough disc shape, then wrap it in clingfilm and put in the fridge for about an hour or so. Alternatively, you can do this the day before you want to bake the tart, leaving it in the fridge overnight, but take the pastry dough out about half an hour before you plan on rolling it out—pastry dough can get very stiff when chilled.
3. Grease a tart tin.
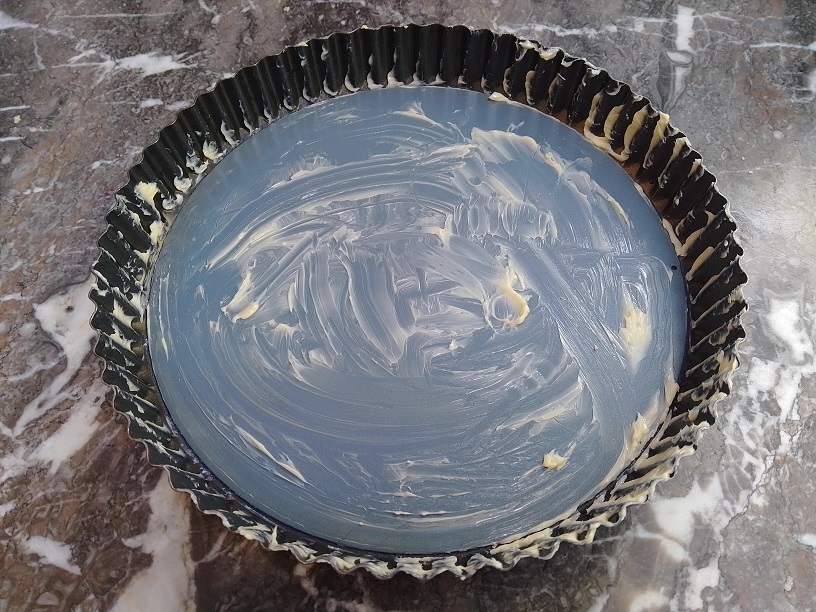
I use a loose-bottom non-stick tart tin, as it makes removing the tart without any breakage significantly easier. For greasing baking trays, I save finished packets of butter and use the residue butter to smear the tray—if I don’t have any leftover butter packets, I just take a scrap of baking paper and place a chunk of butter on it, then use that to smear the butter onto the tray. Although a lot of trays are non-stick, it is still worth greasing the tray to make sure there’s no accidents when trying to get the tart out.
In most cases, I would grease and line a baking tray, lining the bottom with baking paper—I do not do this with tarts, as it makes it harder to get a crisp pastry bottom.
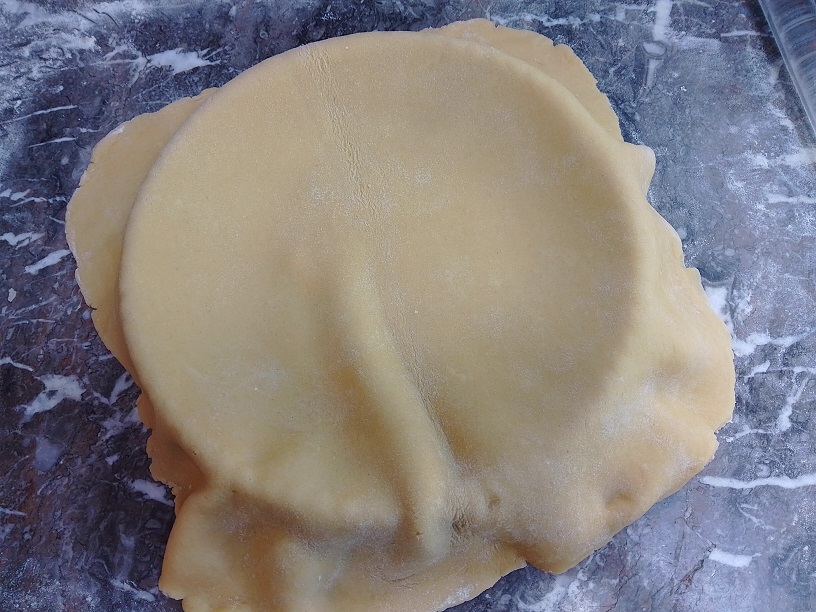
4. After an hour, remove the pastry from the fridge, unwrap it, then roll it out until it is thin and significantly larger than the tart tin.
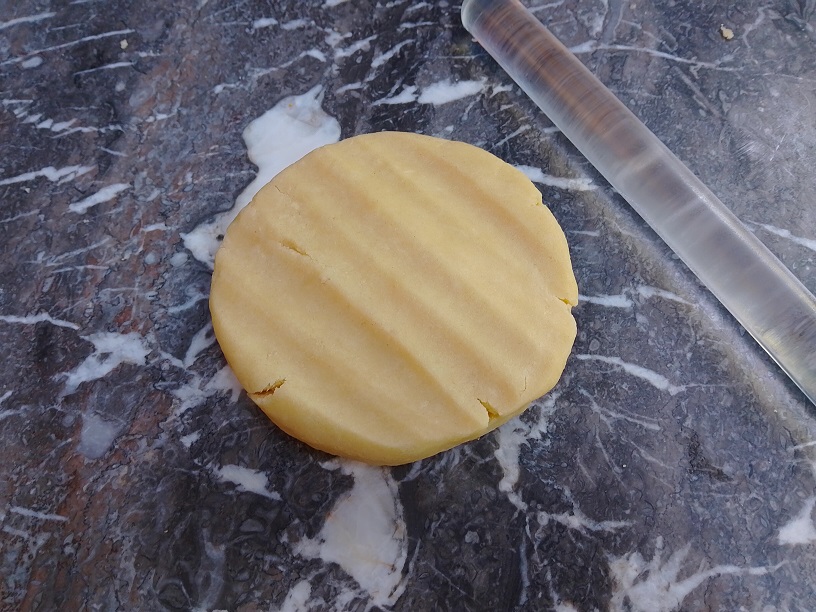
The pastry might be a bit stiff due to being in the fridge, especially if it's been left in there for a few hours (or overnight!). If it's been in there for a very long time, then leave the pastry out of the fridge for half an hour or so before you start working it. Otherwise, if it is quite firm but still somewhat pliable, you can bash the dough with a rolling pin in order to loosen it up, before starting the process of rolling it out, as you can see in the image above (note the scoring on the surface of the dough). In my case, this wasn’t necessary, as the dough was quite soft and pliable already.
Before rolling out the unwrapped dough, cover your work surface and the dough itself with a light dusting of flour—if you’re using a typical wooden rolling pin, lightly dust that with flour too (I use a non-stick, transparent plastic rolling pin), this is to ensure nothing sticks. I also use my dough scraper to dislodge the dough from my work surface in cases where it does stick, and to brush flour underneath it.
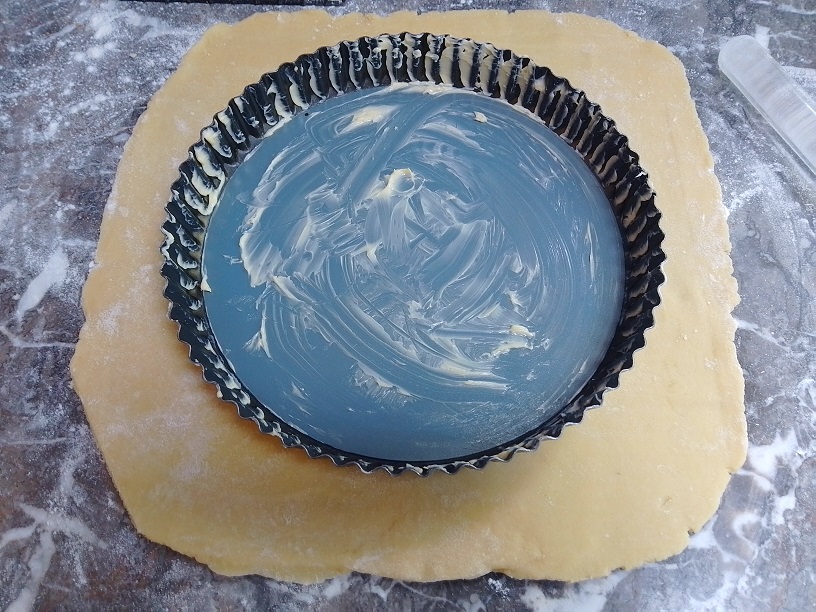
Roll it out by pressing the rolling pin on top, then pushing it forward or backwards—try to make sure it is pressing down on the dough evenly, in order to keep the dough at an even level of thickness. To gauge whether the dough has been rolled out enough, gently place the tart tin on top of the rolled out dough—you want a decent amount of overhang, taking into account that pastry dough will need to fill in the sides as well. I’m not very good at rolling pastry, even with practice—but as long as you get something significantly wider than the tin, you’re good to go.
The dough might tear when rolling it out—don’t panic. If it is a minor tear, I cut a piece of the side of the dough and patch it (note that it is easier to patch dough that isn’t coated with flour), by gently pressing the scrap bit of dough onto the hole, smoothing it out by rolling. If the tear is bad, I will clump the pastry dough back together and start again—I usually don’t have to resort to this, but I did this time. Usually the process of rolling out the dough is significantly smoother on the second try.
5. Drape the dough over the tart tin, then gently tuck in the sides.

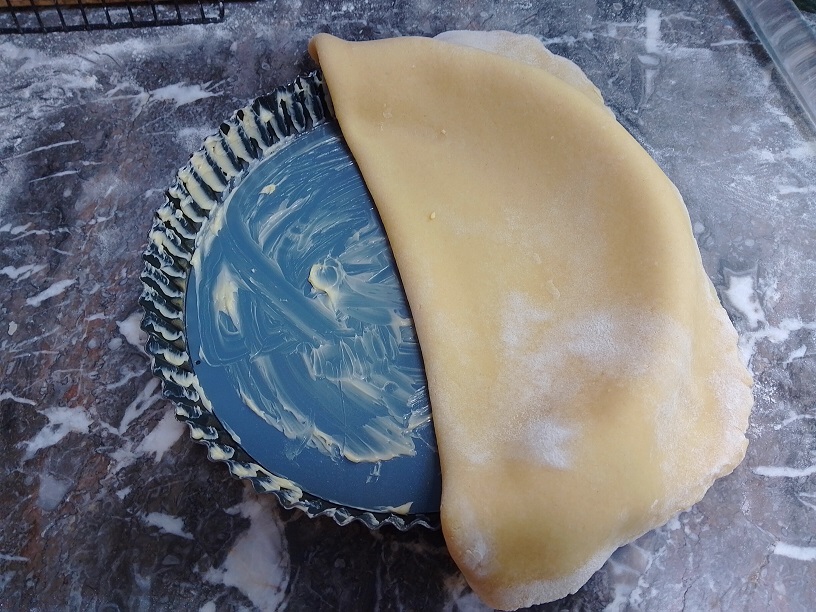
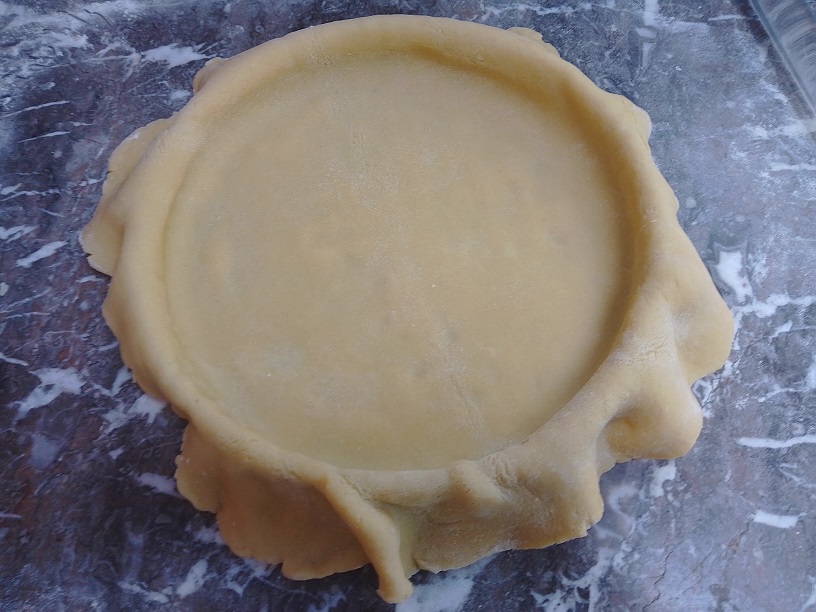
This stage is a bit daunting. I’ve seen a few methods to get the pastry into the tin, the first, which I use, is a folding method—I fold the dough in half, then gently shunt it over the tart tin, placing the crease in the centre, before unfolding it over the other side. I then gently push the pastry into the edge of the tray, to line it up with the fluted border, using the flat of my index finger. If you’re careful, you should get no holes—if you get a small hole, cut a piece of the overhang pastry and gently patch it up. If you get a large tear, you will need to start again, unfortunately.
Another method is to roll the dough onto the rolling pin, then unroll it onto the tray—I find this too delicate of an operation to pull off correctly. A variation on the folding method is to fold it in half, then fold it again—this makes it easier to lift the pastry onto the case, but in my opinion, two folds make it twice as likely to tear, though it may be an easier method for you, especially if you have difficulty shunting the pastry onto the tin.
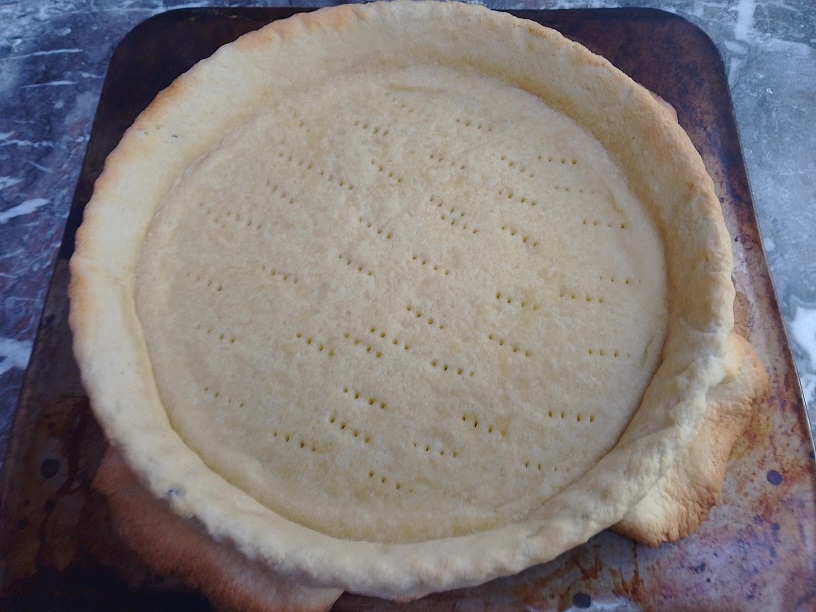
6. Place the unbaked pastry case onto a large tray, prick the surface with a fork, then put in the freezer for half an hour.
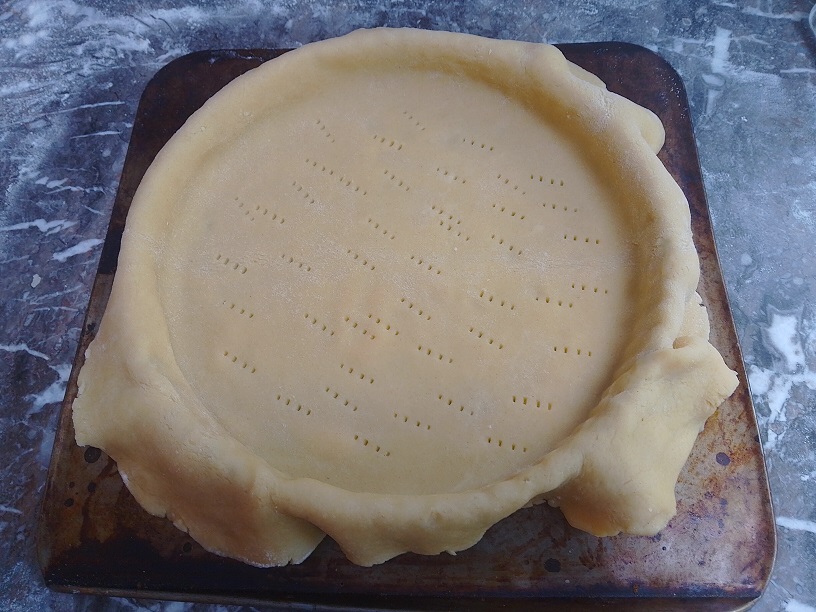
This is an important step for getting a great result. I use a large, rimless tray, which makes it much easier to move the pastry case around without losing the overhang (which we do want to keep!). You can put the pastry case in the fridge, but I’d give it a couple hours at least—you want the pastry as cool as possibly, in order to reduce the chance of breakage in the oven, and to produce a crisp texture. Pricking the surface with a fork helps prevent the surface from rising when baking, meaning you have more room for the filling.
7. Preheat the oven to 180C fan. Once preheated, remove the unbaked pastry case from the freezer, add baking beans, then bake for fifteen to twenty minutes.
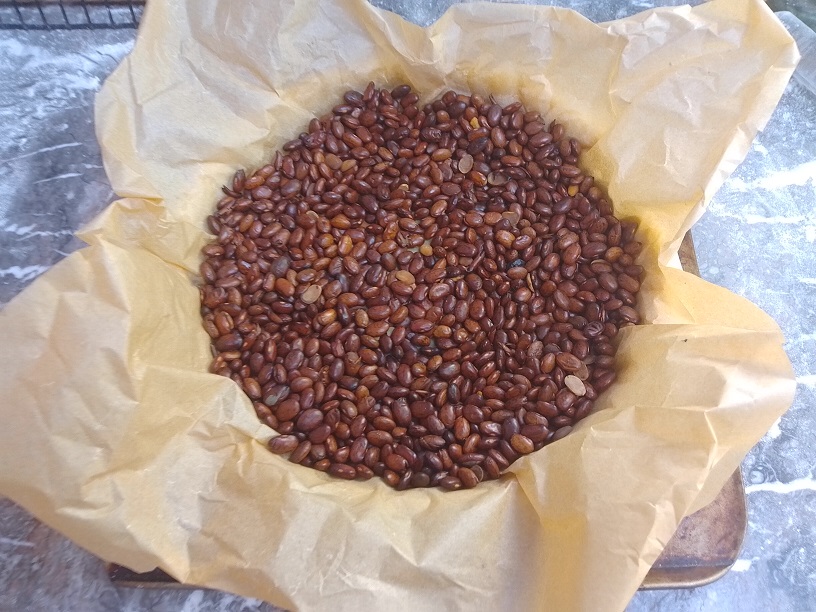
To add baking beans, cover the inside of the unbaked pastry case with a large sheet of foil or baking paper, then add the beans—you can buy ceramic beans from the supermarket for precisely this purpose, or you can use dried legumes, rice, or other grains as a substitute—as long as they exert pressure on top of the surface of the pastry, in order to stop it from rising (and are oven-proof), they will do. I use some old dried pinto beans for this purpose.
”Fifteen to twenty minutes” should be taken as a guideline. Ideally you want the pastry mostly cooked through while still being fairly pale. We retain the overhang and bake it in the oven—some people remove the overhang then bake, which is the traditional method, but I find this leads to shrinkage on the rim, which can make it very hard to add the filling without overspill. The overhang ‘locks in’ the pastry, preventing it from shrinking, and it will be removed once the pastry case has been baked.
8. Coat the pastry case with egg wash, then return to the oven for fifteen minutes.
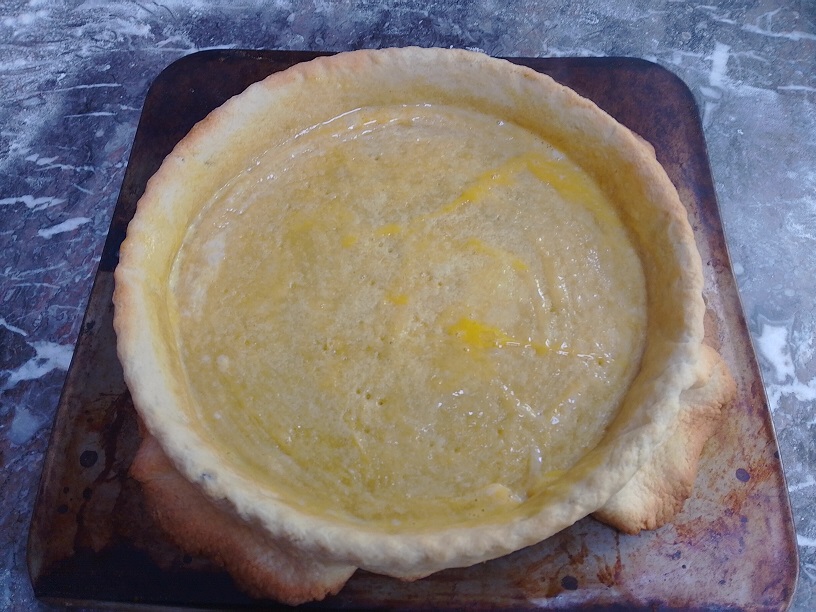
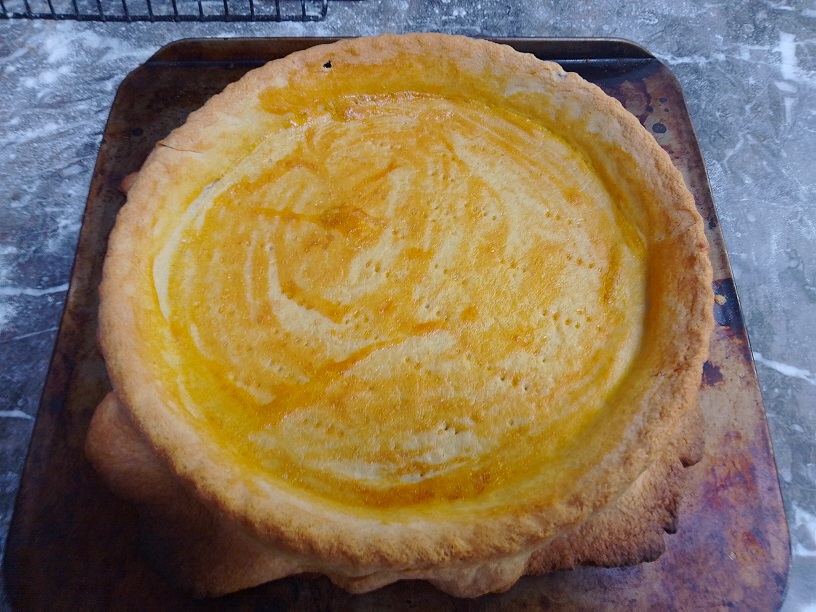
To make the egg wash, just beat the egg then use a brush to brush the egg wash onto the surface of the pastry. You want the pastry a nice, golden brown as in the image above—not too dark, not too light, and as with the previous step, the time is a recommendation—when it looks done, it’s done.
9. Trim the overhang of the pastry case.
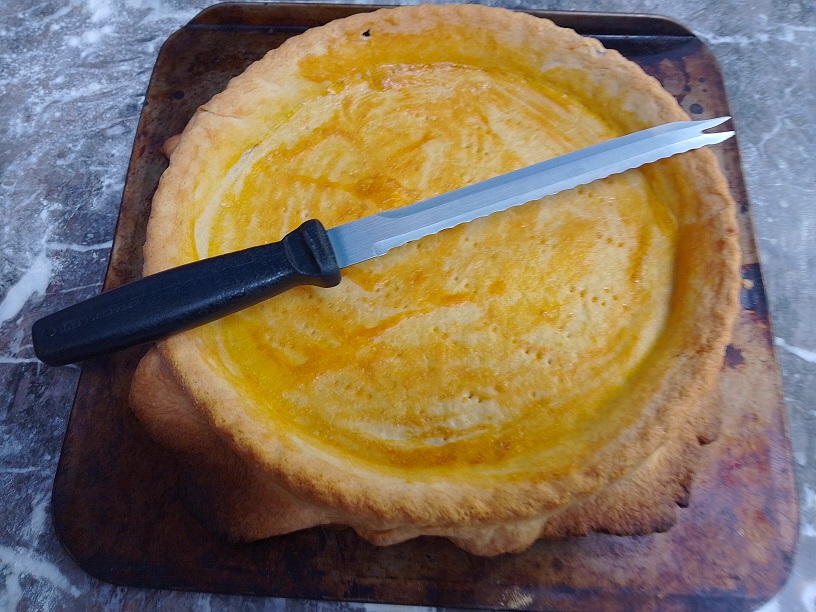

Trim the overhang of pastry around the rim which we left in the shaping stage. I use a serrated knife with fine teeth for this, as seen in the image above. Be gentle and take your time, as the pastry will be slightly brittle—I actually lost some pastry I shouldn’t have, as you can see in the bottom of the image of my final result—a small amount of damage is nothing to worry about, however, and my tart came out fine. You can eat the leftover pastry scraps—they’re delicious!
10. Use your pastry case!
The pastry case is done! If you’re going to be filling it with a filling that doesn’t require baking, carefully remove it from the tart tin now—with a loose-bottomed tart tin like mine, upturn a flat-bottomed bowl so its base is facing upwards, then carefully place the pastry case on top—the sides should just slide down. Remove it from the bowl, then place it on top of a cooling rack, then with one hand (covered by a kitchen cloth or oven glove) gently press down on the metal lip of the base, while pushing the pastry case forward with your other hand, onto the cooling rack. I frequently use my dough scraper for the pushing, as it can slip between the base of the pastry and the base of the tin, making it easier to push.
In cases where I’ve baked tarts in old-fashioned tart tins, without a loose bottom, I either attempted to shunt the case outwards with a gentle but firm shove, or if I felt the case isn’t too fragile, I've attempted to lift it out by the rim of the pastry. Either way, you want to get the pastry on a cooling rack, as it helps prevent moisture build-up underneath, which leads to the much undesirable soggy bottom.
If you’re making a tart with a filling which requires baking (as I have here), leave the case in the tart tin, fill it immediately, then put it in the oven. After baking, remove as described above.